Environment setup#
Before you can contribute to any PyAnsys project, you must set up your developer environment.
Python#
All PyAnsys projects require a Python interpreter for interacting with PyAnsys libraries. Therefore, you must ensure that at least one Python interpreter is installed on your local machine.
Install Python#
There are several ways to install a Python package on your local machine:
Use an installer from the official Python download page.
Use a package manager or “store” on your machine.
Warning
Ensure that you install Python from an official channel. Do not trust third-party websites or download executable content from them.
To install Python on a machine running Windows:
Download the latest stable Python version for Windows.
Execute the installer, referring to Using Python on Windows for detailed installation instructions.
To install Python on a machine running macOS:
Download the latest stable Python version for macOS.
Execute the installer, referring to Using Python on a Mac for detailed installation instructions.
Note
It is likely that your macOS distribution already comes with some version of Python installed. For more information, see Verify Python version.
To install Python on a machine running Linux/UNIX:
Download the latest stable Python version for Linux/UNIX.
Decompress the source code and follow the installation instructions in the
README.rstfile. For more information, see Using Python on Unix Platforms.
Note
It is likely that your Linux/UNIX distribution already comes with some version of Python installed. For more information, see Verify Python version.
Verify Python version#
Once your Python installation is complete, verify it with this command:
python --version
Virtual environments#
When working in multiple Python projects, it is likely each of these projects has its own requirements. Sometimes, requirements across projects can be incompatible. Virtual environments were devised to isolate Python environments, which guarantees that you do not face dependency problems when working in multiple projects.
For information on the most fundamental commands for manipulating and interacting with a Python virtual environment, see the official Python documentation on the venv module.
Check#
Before creating a virtual environment, you must run the command for your OS to see if you are already using one:
where python
where.exe python
which python
The command returns the path to the Python virtual environment that your system is currently using.
Ensure that it points to your default installation and not to a virtual environment. If it points to a virtual environment, see Deactivate for information on deactivating the virtual environment.
Create#
Usually, virtual environments are named venv or .venv.
You can create a virtual environment named <venv> with this command:
python -m venv <venv>
Activate#
You would activate the preceding virtual environment with the command for your OS:
<venv>\Scripts\activate.bat
<venv>\Scripts\Activate.ps1
source <venv>/bin/activate
Deactivate#
You can deactivate a virtual environment with the command for your OS:
deactivate
Git#

Git is an open source VCS (version control system). It is used to track changes and register new content in software-related projects. Git registers the author and date of the changes so that accurate tracking of the software’s evolution is available.
Install Git#
To install Git on a machine running Windows:
Download the latest stable standalone Git version for Windows.
Execute the installer and follow the installation instructions.
To install Git on a machine running macOS:
Check the latest stable Git version for macOS.
Run the installation command for your package manager.
To install Git on a machine running Linux/UNIX:
Check the latest stable Git version for Linux/UNIX.
Run the installation command for your package manager.
Verify Git version#
Once your Git installation finishes, verify it with this command:
git --version
Use Git#
If you’re new to Git, see the Git documentation for comprehensive usage information.
For an understanding of Git workflows and branching strategies, see the Learn Git Branching tutorial.
If you’re unfamiliar with GitHub, see The Official GitHub Training Manual for guidance.
Configure Git#
It is very important to properly configure Git so that every modification that you make to the code points to you. There are two types of Git configuration: Global and Local. It is also possible to combine both to have a Dynamic configuration.
Global#
A global configuration is automatically included in every Git repository on
your machine unless overridden by a Local configuration, which
is located in C:\Users\<username>\.gitconfig for Windows users or in
/home/<username>/.gitconfig for macOS, Linux, or UNIX users.
You can set the value for any variable in a field with this command:
git config --global <field>.<varname> <value>
Some examples of setting values follow.
Set your name
git config --global user.name <Your Name>
Set your email
git config --global user.email <Ansys Email>
Set the default branch name
git config --global init.defaultBranch main
Local#
There might be a time when you want to declare a specific configuration to use only in a given project. To override the global configuration, you can declare a local configuration.
In a local configuration, the commands are the same as in the global configuration. The
one exception is that instead of using the --global flag, you use the --local flag.
Ensure that you run the commands in the root directory of your project and that a .git
directory exists.
If you would like to manually modify your local configuration, it is saved in
the .git/config file.
Dynamic#
It is possible to configure Git such that it selects between multiple
configuration profiles according to whether your project is located on your system.
This lets you define common configurations for working under
Ansys or other open source projects from which Ansys benefits.
As an example, consider the following scenario for setting up two Git configuration profiles for working with Ansys projects and personal projects.
Create the two files, naming them so that they are easily distinguishable. For
example, name them .gitconfig-ansys and .gitconfig-personal. Then, use Git
Conditional includes
to control which Git configuration is applied based on whether the project is located
on your system.
Here are examples of what these files might look like:
[includeIf "gitdir:path/to/your/ansys/folder/of/projects"]
  path = path/to/.gitconfig-ansys

[includeIf "gitdir:path/to/your/personal/folder/of/projects"]
  path = path/to/.gitconfig-personal
[user]

  name = <Ansys Name>
  email = <Ansys Email>
  signingkey = <Ansys GPG Key>
[user]

  name = <Name or Nickname>
  email = <Personal Email>
  signingkey = <Personal GPG Key>
Sign commits#
To verify which code changes were made by you, signing the commit
is required. To sign a commit, you must generate a GPG key, associate it with
GitHub, and specify it in your Git configuration.
For an explanation of the process, see Manage commit signature verification in the GitHub documentation.
Enable SSH#
Working with Secure Shell Protocol (SSH) is not only a good practice but also required for contributing to PyAnsys projects. Without an SSH key, you are not able to clone internal or private repositories or to push new changes.
For information on setting up SSH with GitHub, see Connecting to GitHub with SSH in the GitHub documentation.
Handle line endings#
Every time you introduce a new line by pressing the enter key, an invisible character is introduced to represent a line ending. Each operating system manages these end-of-line (EOL) characters in its own way. For Windows, the EOL is also known as a CRLF, while in Linux it is known as a LF.
To avoid problems between developers working in the same repository but using
different operating systems, you can specify an EOL policy in a .gitattributes file.
In a .gitattributes file that you have committed to your repository, you can
customize the type of EOL characters that you expect developers to use. Git
then automatically manages these EOL characters so that developers do not
need to worry about them. Consider this example in Configuring Git to handle line endings
in the GitHub documentations:
# Set the default behavior, in case people don't have ``core.autocrlf`` set.
* text=auto

# Explicitly declare text files that you want to always be normalized and converted
# to native line endings on checkout.
*.c text
*.h text

# Declare files that always have CRLF line endings on checkout.
*.sln text eol=crlf

# Denote all files that are truly binary and should not be modified.
*.png binary
*.jpg binary
Remove files and directories untracked by Git#
To remove files and directories that are not tracked by Git from your working directory, you want to periodically run this command:
git clean -fdx .
Descriptions follow for each command option:
fforces deletion of untracked files (and directories ifdis also specified) without requiring additional confirmation.ddeletes untracked directories. By default, thegit cleancommand does not recurse into untracked directories to avoid deleting too much.xdeletes ignored files, which are those specified in your.gitignorefile. You use this option when you want to clean up all untracked files, including build products.
The trailing . specifies the current directory as the starting point for the
cleaning. For example, to clean all of the untracked files that are generated by
building documentation locally, you would run the git clean -fdx . command
from the doc directory.
WSL2#
Some developers prefer using Windows as the operating system for their machines. However, they might like to take advantage of some features provided by a Linux operating system. The Windows Subsystem for Linux (WSL) was devised to solve this problem. For installation information, see How to install Linux on Windows with WSL in the Microsoft Windows documentation.
Install WSL2#
Open a new PowerShell session and install WSL with this command:
wsl --install
After installing WSL, ensure that you are running the WSL2 version with this command:
wsl --set-default-version 2
Verify WSL version#
Verify your WSL version with this command:
wsl --list -v
Install Linux distribution#
After WSL2 is installed, install a Linux distribution. To get a list of available distributions, run this command:
wsl --list --online
Most developers choose Ubuntu because it is a well maintained Linux distribution with a huge collection of packages.
To install the Linux distribution of your choice, run this command:
wsl --install -d <distribution name>
You can use the preceding command to install multiple Linux distributions. Indicate the distributions that you would like to use with WSL2 with this command:
wsl -d <distribution name>
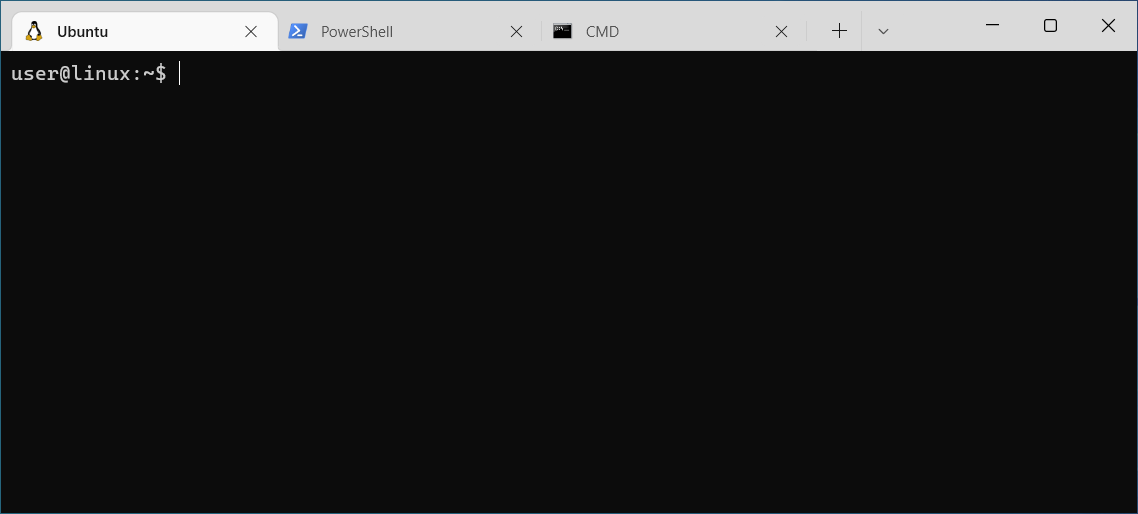
Windows terminal#
Windows Terminal is
an app that integrates multiple shells into a single console. Windows
ships by default with two shells: CMD and PowerShell. If WSL2 is
installed, a Linux shell is added. Hence, the goal of Windows Terminal
is to collect and manage all shell sessions in a single program. You can install
Windows Terminal from the Windows Terminal page
on the Microsoft Store.
Next steps#
With your development environment ready, you can:
Read Contributing to understand the PyAnsys coding standards and contribution workflow before opening your first pull request.
Read Python versions to decide which Python versions your library should support.